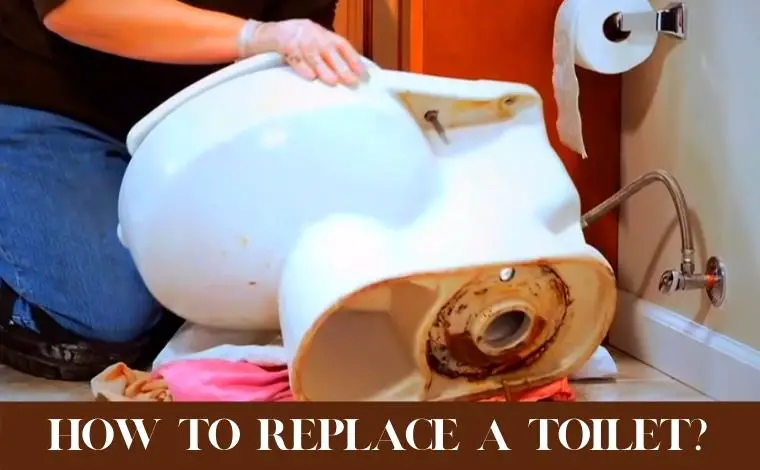
 Toilets are among the most durable fixtures on the market. But after some time of use, your toilet may wear out, get a crack, or break. If this takes place, you may be forced to replace your toilet. Also, you may want to replace your toilet because it uses excess water or experiences clogging toilet issues. Whatever the case, replacing a toilet should be super easy.
Tools and materials
Replacing your toilet is easy if you have the right tools and materials at hand. These include work gloves, safety glasses, putty knife, level, bucket, hacksaw blade, adjustable wrench, and tongue-and-groove pliers. The materials that you will need are a new toilet, wax ring, toilet shims, silicone caulk, closet bolts, and nuts.
How to Replace a Toilet?
You don’t need a professional plumber to replace a toilet. But replacing a toilet is an unpleasant task as you may face some difficulties. So follow the steps below, and you will save several hundreds of dollars that you could’ve paid a plumber.
Step 1: Take measurements for the new toilet
Before you replace your old toilet, you need to measure the toilet so that your new toilet can perfectly fit in. Measure the toilet from the back of the wall to the closet bolts. Additionally, you should only measure the toilet seat from the wall and not from the baseboard. It will secure the toilet to the floor.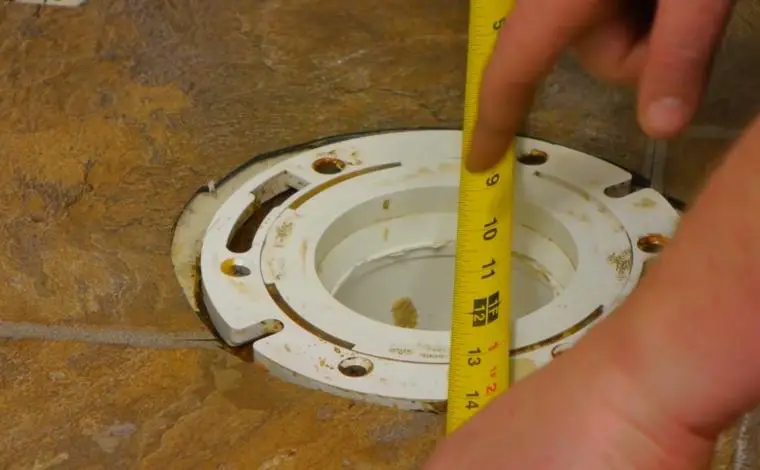
Next, you should measure the toilet to any close water supply lines on the floor. Some toilets feature a broader base that might not fit next to a supply line on the floor. Furthermore, you should measure the rough-in of the toilet to ensure that it will fit well.
Pick the right toilet bowl for your toilet. Some units come with a round bowl, while others have an elongated design. Round toilet bowls are great for compact spaces, while elongated bowls offer additional comfort.
Step 2: Disconnect the supply fill valve
After acquiring the right new toilet, the next step is to remove the old one. Start by cutting out the water supply line to the toilet. Afterward, flush the toilet to drain water. Wear rubber gloves and remove the remaining water with the help of a bucket and sponge. Press the flush button to drain down the remaining water from the tank.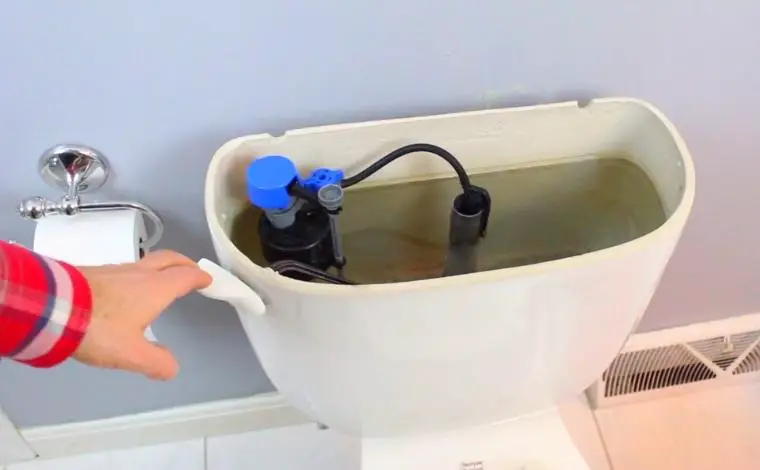
Step 3: Remove the mounting nuts
When you’re done removing the water supply line using pliers, you should remove the porcelain caps on the floor bolts that hold the toilet in place. Get rid of the nuts and bolts. If the nuts are stubborn to loosen because of rust, cut off the toilet bolts below the nuts using a hacksaw. After you remove the nuts, it is time to lift off the toilet seat.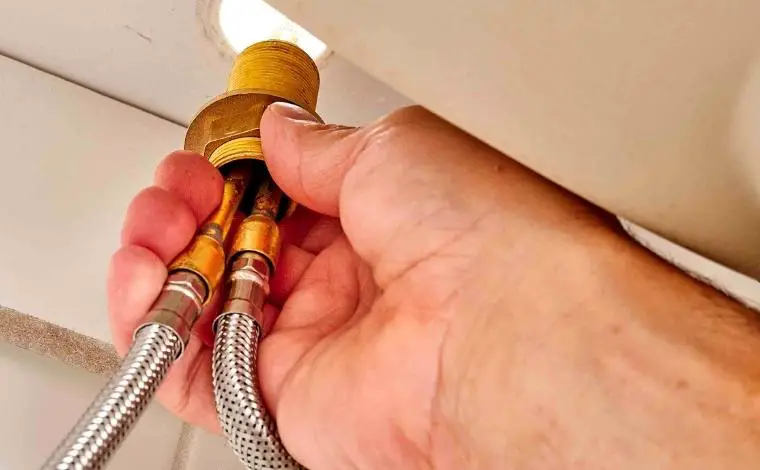
Step 4: Uninstall the toilet tank and bowl
Flush the toilet so that the reserved water can drain from the tank and bowl. Next, carefully dispose of the toilet as there may be some water in the pan and cistern. When disposing of the toilet, use a water solidifier to prevent any remaining water from coming out of the bowl. If you have a two-piece toilet, start by removing the tank and then the bowl.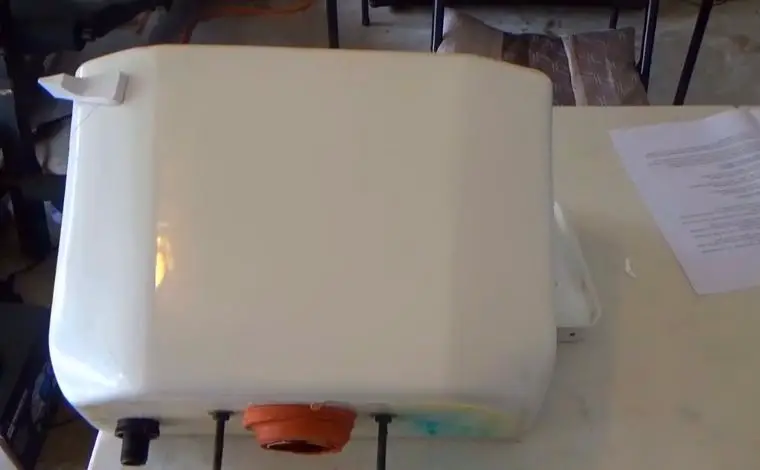
Step 5: Get rid of the old wax and wax ring.
Since wax rings can’t be reused, you should remove them before installing a new toilet. Use a putty knife to remove and throw away the old wax ring. Take a rag and place it in the hole to block sewer gases from going through. Besides, the rag will also prevent anything from falling into the drain hole.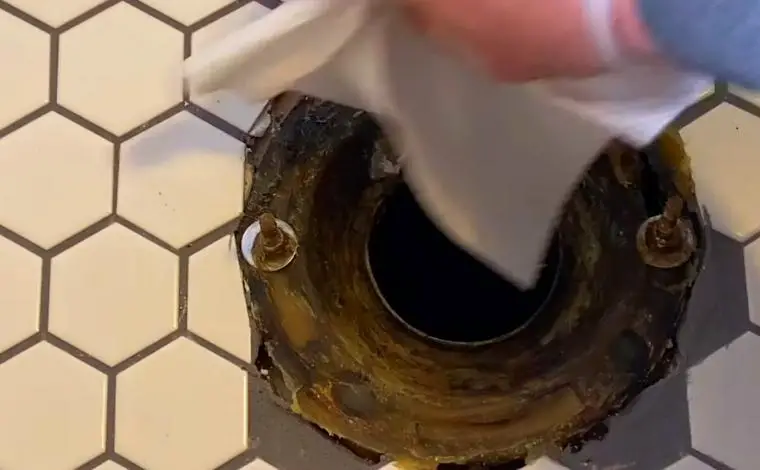
Before placing a new wax ring on the hole, remove the rag blocking the hole. The new wax ring should be positioned between the bolts.
Step 6: Repair the flange.
Repairing or changing the old toilet flange will help the new toilet to last longer. But before that, you should remove the old closet bolts from the flange. Next, make any necessary repairs or change the flange. Note that the flange should be slightly higher than the floor.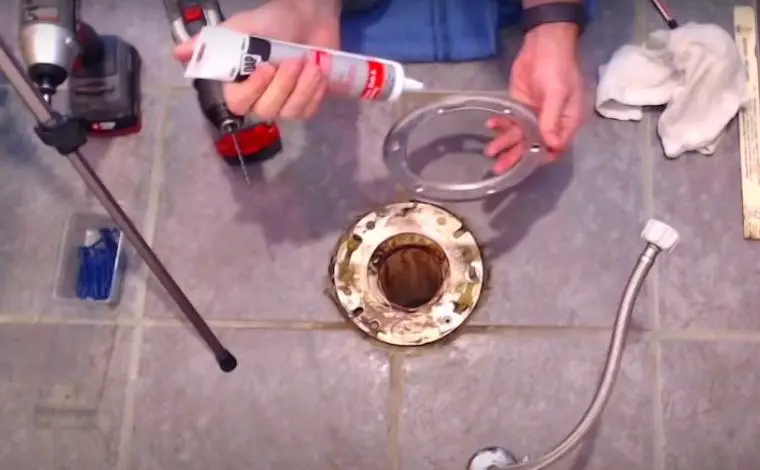
Step 7: Install new toilet bolts.
After you’re done repairing the flange, fit the new bolts to install a toilet. Insert them into the slots on the flange. Most of them have nuts that hold them in position on the flange. Make sure to tighten these nuts so that the toilet can properly align after being installed. But be careful while tightening the nuts because that might crack the toilet base.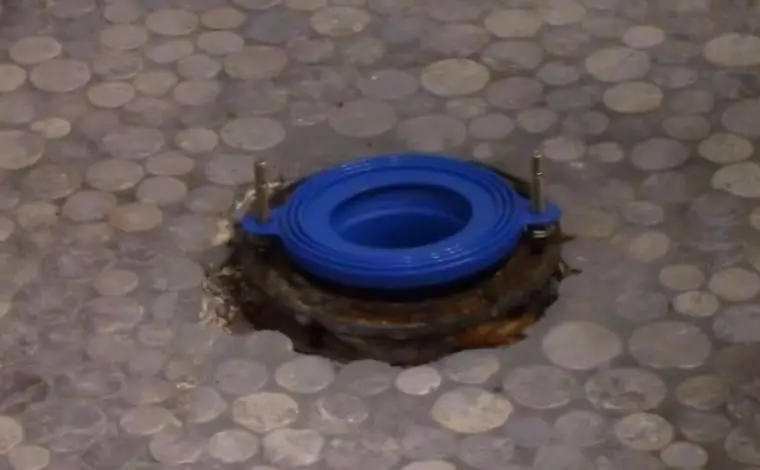
Step 8: Test-fit the new toilet
Test the new toilet and find out if it fits properly on the flange. Moreover, you should use this opportunity to note if the closet bolts align with the holes in the toilet base. If everything is fine, remove the toilet and put it upside down on a secured surface. Place it on a large rug or something safe.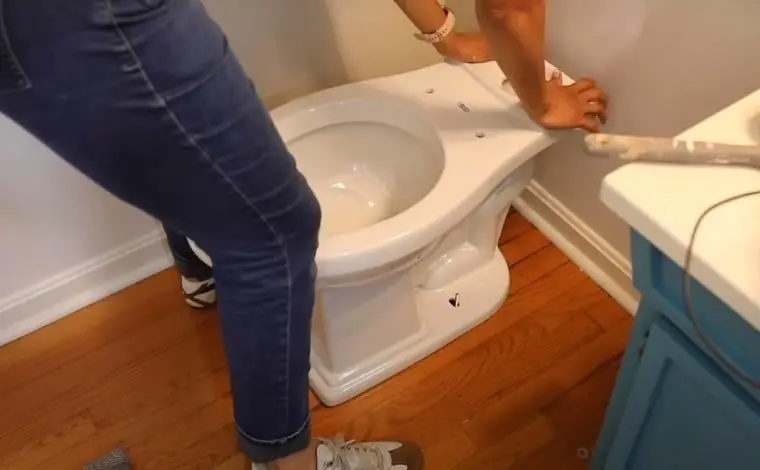
Step 9: Employ the wax ring
Next, put the new wax ring over the horn of the toilet. Press it firmly to ensure it’s well seated in position. However, it would help if you did not press it with excessive force as you don’t want to damage it. What’s more, you should be careful with the wax ring as it cannot be reused when it touches the floor.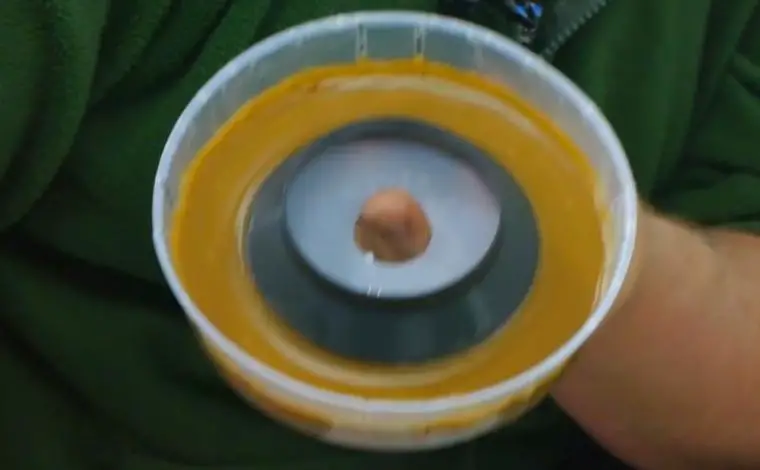
Related article: How to change a toilet fill valve?
Note that most new toilets come with a wax ring. But as a backup, you should have a spare wax ring if anything goes wrong during installation.
Step 10: Install the new toilet.
Depending on your toilet type (one-piece or two-piece toilet), you can get help or install a toilet on your own. One-piece toilets usually are heavy, meaning you will need a helping hand for proper installation. If it’s a two-piece toilet, start by installing the bowl and then the tank. Check if the fill valve and flush valve pre-installed with the tank.
Install the toilet onto the closet flange. Push the toilet base with some pressure until the toilet is correctly seated on the floor.
Step 11: Tighten the nuts.
Set up the plastic cover base, washer, and nut onto the closet bolts. Fasten the nuts as you interchange from one side to another to ensure the same pressure is applied on both ends of the toilet. Avoid over-tightening the bolts, as this may cause the bottom of the toilet to crack.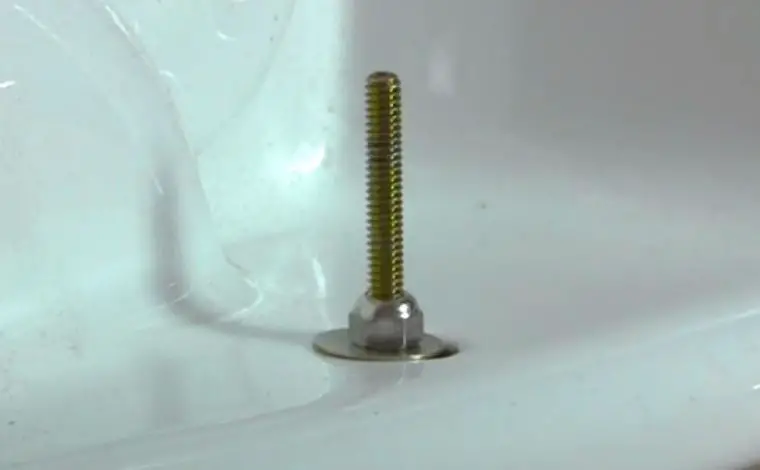
Step 12: Finish installation
When you’re done, you can fix the tank on top of the bowl for two-piece toilets. Additionally, it would help if you connected the water supply valve to the new toilet. This is also the right time to fix or replace the new toilet seat onto the toilet. Check the toilet by flushing it to drain water from the tank. The toilet is now ready for use. I hope these cited toilet installation steps will assist you in replacing a toilet without a plunger.
Summary
With these steps, replacing your worn-out or broken toilet with a new one shouldn’t be a problem. Take your time and follow each step keenly. Note that some toilets are heavy, and you may need a helping hand for proper installation. All the best as you replace your old toilet with a new, better toilet!
Still, have a question after reading this How to Replace a Toilet article? Comment below
Hi, this is Robert Crossan, the owner of this website, has 17 years of experience in the installation, maintenance, and repair of toilets and plumbing systems. After completing the Level 2 Basic Plumbing course in 2005, I started working in both domestic and commercial buildings as a professional plumber. So I can figure out the core difference between different toilet models and brands. It also helped me monitor their work performance and setbacks.