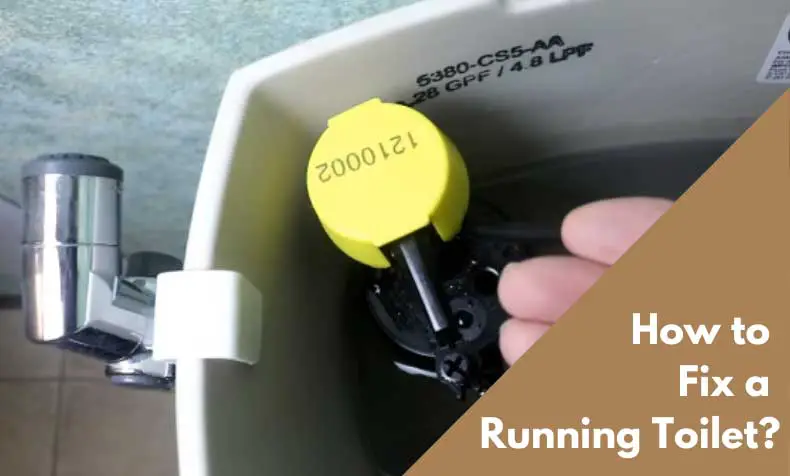
 Having a running toilet cannot only increase your water bill but as well as distract your sleep. Fixing a running toilet is super easy as you don’t need any special tools to fix it. Therefore, instead of calling a plumber to fix this common toilet issue, you can do it yourself. Here are some common reasons for a running toilet:
-Faulty or stuck toilet flush handle or button
-Toilet’s float in the tank is too high
-Old or worn-out flapper
-Water pressure may be too high
-Blockage in the supply line
-Incorrect refill tube size
How to Fix a Running Toilet? 3 Things to Check
A running toilet can be brought about by a bad fill valve, leaky flapper, or an overflow pipe at an undesirable height. So, before you can fix the toilet, you have to find out the issue and tackle it. However, it would help if you always started with the toilet flapper, as it’s the primary culprit of a running toilet.
Fixing Flapper issues
The first thing that you will look at is your toilet flapper. A toilet flapper is a rubber or plastic cap that keeps water inside your tank. When you flush the toilet, the chain moves up the flapper so water can fill up the tank. After some time, the flapper can wear out by becoming brittle or forming a faulty seal. Therefore, if your tank doesn’t refill well or hold water, there is a chance that the flapper is worn out.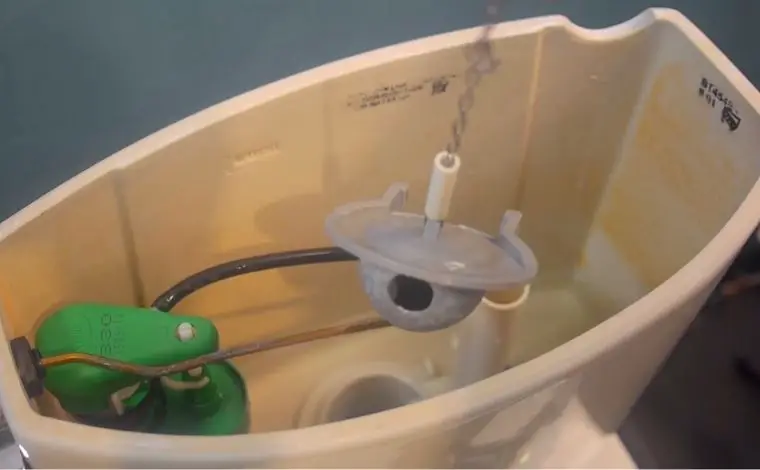
To check and test the flapper, here are the steps that you should follow:
Flush and Open the Lid
First, turn off the toilet water supply and drain your toilet. Flush the water so that the tank remains empty. This will help you to drain the water and check the water without the water filling the tank.
Next is to remove the toilet tank lid and look inside. Ensure to place the toilet tank lid on a soft surface to avoid scratching or cracking it. This is because most toilet lids are fragile since they are made of heavy ceramic.
Inspect the chain properly
Make sure the chain connected to the flapper is not entangled with anything. If the chain is too long or very short, adjust it, as it can also cause issues. A long chain may get caught underneath the flapper and affect the seal, while a short chain may pull up on the valve when it shouldn’t. In some instances, the chain may be rusty or not suited for the flapper. In this case, you should replace and install the right chain for your toilet flapper.
Related article: How to fix a clogged toilet by yourself?
Detach the Flapper
Check flapper problems. Dispatch the flapper from the bottom of the overflow tube. It is typically hooked from the pins’ side at the bottom of the overflow tube – unhook it. Check whether the flapper has any warping, mineral deposits, disintegration, or even discoloration.
Clear the blockage
If the flapper has mineral deposits, you should clean it, which may be enough. But if the flapper is worn out, you will have to replace it with a new one. You can remove mineral deposits on a flapper by soaking it in a bucket of vinegar for around 30 minutes. Afterward, scrub the rubber with a brush to get rid of the dirt. You can also use a few drops of shampoo on a cloth and wipe down the flapper to remove dirt buildup.
A flapper can also jam. At times, flappers become pinched in their hinges. Inspect the flapper and see whether it’s blocked and preventing the seal from closing correctly. Additionally, you should check whether the flapper is aligned correctly. Flappers that are not in their position can cause a leaky toilet problem. Make sure the flapper is well aligned, and see if the toilet stops running.
Replace a bad flapper
If the flapper is hard, brittle, or does not seal well after cleaning, replace it. Make sure the new flapper has the same dimensions as the old one. But if you don’t find one, you can always opt for a universal flapper that works with any toilet.
After buying a new flapper, fix it into place and attach the hooks. Turn the water on and keenly observe if the flapper is working correctly. If the toilet is no longer running, your issue is fixed. But if it’s not, try to check the part which is adjusting the water level.
Adjusting the water level
If you find that the flapper is okay, but your toilet is still running, the next culprit to look at is the water level. The toilet’s overflow tube work ensures that the tank doesn’t fill to the brink and flood your bathroom. But when the water level is exceptionally high, water will continuously flow into the overflow tube. To prevent your toilet from running, make sure to fix this problem.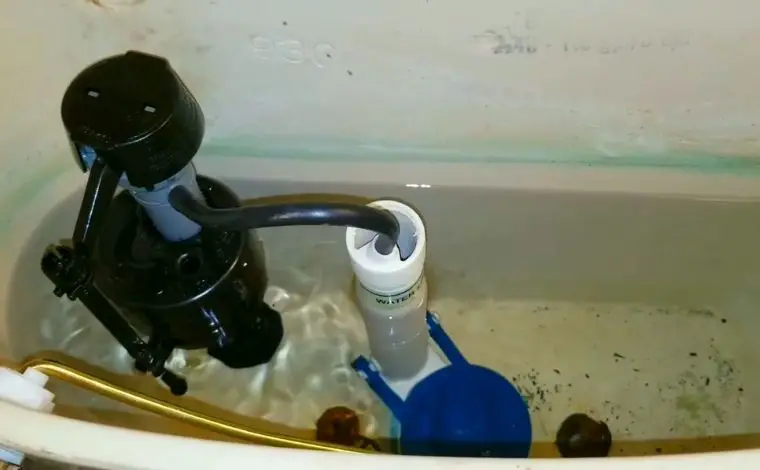
Step 1:
Start by inspecting the overflow tube. Allow the water to run and fill the tank. Have your eyes fixed on the overflow tube. The overflow tube links the tank and toilet bowl. If the water keeps going into the tube, you will have to adjust the water level by lowering the float.
Step 2:
Check the float and inspect if it’s rightly positioned. Every toilet comes with a float that controls the amount of water that falls into the tank. The float’s height is what indicates the fill valve to close. Hence, you can lower or increase the level of water in the tank by adjusting the float.
Related article: Easy steps to clean the toilet properly
There are two types of floats – a float ball fill valve and a float cup fill valve. If your toilet has a float ball, shake it and see whether it has water inside. If that’s the case, replace it with a new float ball. And for a float cup, make sure to adjust it so that water doesn’t go through the overflow tube.
Step 3:
But if both the float ball and float cup fill valves are okay, you should adjust them to a desirable level. After changing the float fill valve, flush the toilet and let it fill up. The ideal water level in a toilet tank should be between 1” to 5” below the overflow tube’s top.
After adjusting the float ball/cup fill valve and your toilet is still running, maybe there is another issue. Check the fill valve and ensure it’s working correctly.
Checking and replacing the fill valve
The fill valve controls the flow of water into your toilet’s tank. Therefore, if the fill valve is broken or damaged, it may not shut off or partially shut off. As a result, it will let the water run into your toilet. Nonetheless, fill valves are cheap, meaning you can easily replace one if it is defective or worn out.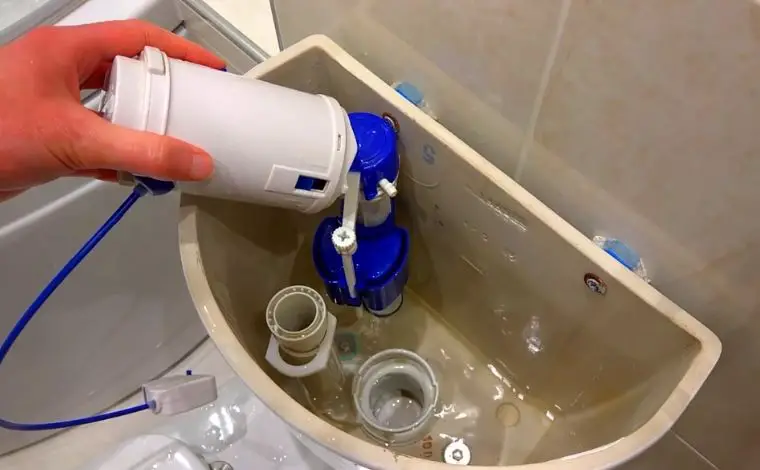
Flush the toilet
To check whether the fill valve has a problem, turn off the water to the toilet. Next, flush the water so that you remain with an empty tank. Dry the remaining water in the tank using a cloth or towel.
Disconnect the water supply
Unplug the water supply line. The water supply line is typically situated outside the toilet. Locate it and unscrew the nut locking it on the tank. Employ a pair of pliers to unscrew the nut and disconnect the supply line.
Detach the damaged valve
Remove the damaged fill valve. After disconnecting the water supply line and unscrewing the nut, you will see the fill valve. Remove the damaged fill valve and replace it with a new one. Ensure to pick a new fill valve with the same dimensions as the old one. You can as well as utilize this opportunity to change the old float ball or float cup for new ones.
Install the new fill valve
Fix the new fill valve where you removed the old fill valve. Next, connect the water supply line and tighten the nut. For a secure fit, use pliers to fix the nut properly. Additionally, connect the fill tube to the fill valve. Place the fill tube in a way that drains water into the overflow tube.
Correct Water Level
Adjust the float to correct the water level. After installing a new fill valve, you should adjust the float cording to the fill valve specifications. Most fill valve manufacturers provide the ideal float height valve for their products. Measure the tank from the bottom and adjust the fill valve to the recommended height.
Finally, test the fill valve
When you’re done setting the fill valve and float to the right height, you should test the fill valve. Switch the water on and enable the tank to fill. Furthermore, you should check the water level and ensure it’s at the recommended height. Listen if there is any running water.
Finish by flushing the toilet and listening to it again. If necessary, adjust the float ball also to ensure that water reaches the recommended height. If everything is okay, you can now relax knowing that you have fixed your toilet.
Summary
Now that you know the procedures of fixing a running toilet, you should get the necessary tools and fix your toilet right away. You don’t need to contact a professional plumber as it’s easy and straightforward. Make sure you follow every step, and the issue will be fixed. Wishing you success as you attempt to fix your running toilet and save water from being wasted!
We are really lucky to have a hard-working, multi-skilled plumber on our team. Collin D. Gallegos, a professional plumber who has worked with us since 2012, is an expert in vent, septic, and drainage systems. He is a Certified Master Plumber and has worked on various commercial plumbing projects. He usually helps our readers resolve plumbing and pipe-related issues with a proper DIY troubleshooting and repair guide.