Composting toilets have gained attention for being eco-friendly alternatives, but they can also pose challenges if not properly maintained. Homeowners often encounter unpleasant experiences due to poor hygiene or system failures, making it essential to keep the unit in good working condition at all times. Without regular cleaning and upkeep, composting toilets can become unhygienic and unsanitary, leading to foul odors and pest infestations.
Despite these concerns, composting toilets come with impressive benefits. Designed as waterless systems, they significantly reduce water usage, making them ideal for off-grid living, RVs, and environmentally conscious households. However, the efficiency of a composting toilet depends heavily on regular maintenance. Cracks, leaks, or mechanical issues in the system can compromise its performance and cleanliness.
Since these toilets do not use water for flushing, keeping them clean requires a consistent routine. Proper cleaning and deodorizing not only ensure a healthy indoor environment but also help control pests and unpleasant smells. While composting toilets can be more demanding than traditional flush toilets, their sustainability benefits often outweigh the challenges when cared for correctly.
What Is a Composting Toilet?
A composting toilet is an innovative system that treats human waste through natural decomposition and evaporation processes. It breaks down organic waste—both solid and liquid—into compost-like material using aerobic bacteria, which is then converted into safe, nutrient-rich humus. This process takes place in a well-ventilated chamber designed to optimize the composting environment.
Unlike conventional toilets, composting toilets do not use water to flush waste. Instead, they rely on gravity and internal compartmentalization to separate solids and liquids. These dry toilets are engineered to manage waste efficiently while minimizing environmental impact. However, due to the nature of waste decomposition, composting toilets can generate unpleasant smells and support the growth of algae or bacteria if neglected.
To maintain a hygienic composting system, it’s crucial to control moisture levels, add carbon-rich materials (like sawdust or coconut coir), and frequently remove composted matter. Routine inspections can help detect cracks or clogs early on, ensuring the system functions effectively and safely.
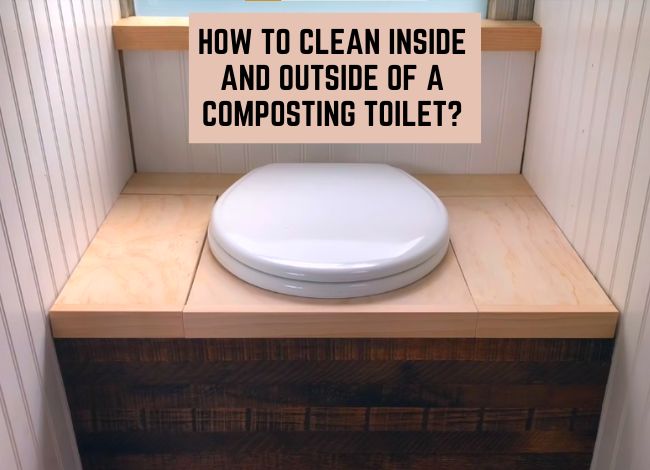
What Parts of a Composting Toilet Need to Be Cleaned?
Maintaining your composting toilet is essential to ensure hygiene, odor control, and optimal performance. While composting toilets are eco-friendly and water-saving, regular cleaning is necessary to keep them fresh and functional. The key components that need routine cleaning include the toilet seat, lid, and bowl or pedestal. Let’s break down how to properly clean these parts and maintain your composting toilet effectively.
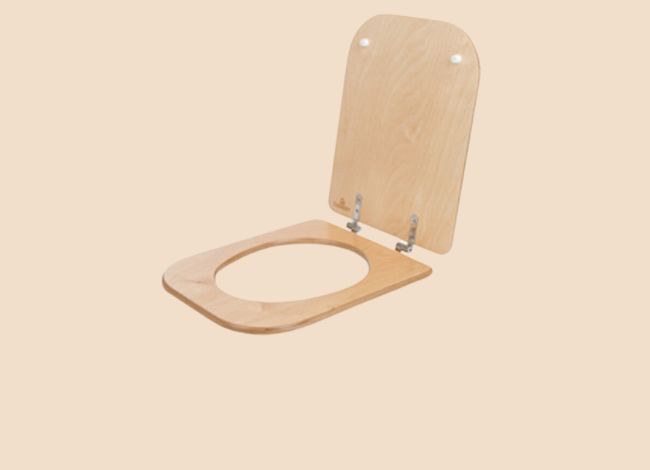
1. Toilet Seat and Lid
The seat and lid are the most frequently used parts of a composting toilet, making them highly susceptible to dirt and bacteria. Since users come into direct contact with these surfaces, prioritizing their cleanliness is essential for hygiene.
- Use mild, non-toxic cleaners or natural solutions like vinegar or baking soda to disinfect without harming the composting system.
- Avoid harsh chemicals, as they can disrupt the bacterial balance inside the compost chamber.
- After applying the cleaner, rinse thoroughly with water and wipe with a soft cloth or biodegradable paper towels.
Maintaining this area regularly not only ensures cleanliness but also improves the overall experience of using a composting toilet.
2. Bowl or Pedestal
The bowl or pedestal functions similarly to traditional toilets, but it’s part of a dry composting system. Cleaning this part helps prevent buildup and keeps the waste processing smooth.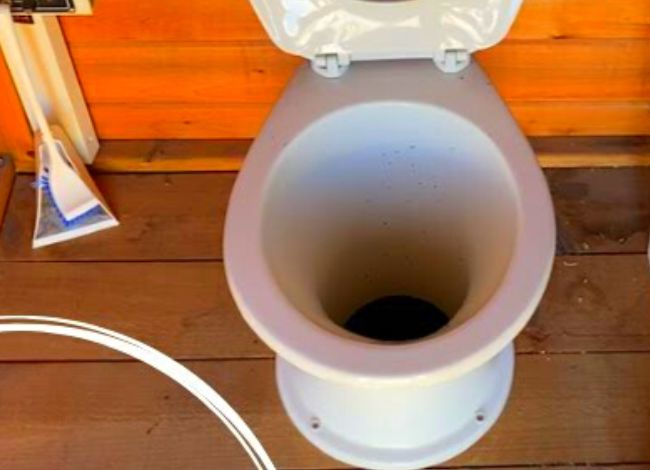
- Apply a natural toilet cleaner or enzyme-based solution that’s safe for composting systems. Products like vinegar, citrus-based cleaners, or eco-safe toilet bowl cleaners work well.
- Use a toilet brush or scrubber to clean inside the bowl. Make sure to reach hidden corners where bacteria may accumulate.
- If your composting toilet has a liquid separation system, ensure the funnel or diverter is also cleaned regularly to prevent odor or blockage.
⚠️ Important Note: Never use traditional toilet wipes or bleach-based products. These can introduce harmful chemicals that disrupt the composting process and kill beneficial bacteria.
Step-by-Step: How to Clean a Composting Toilet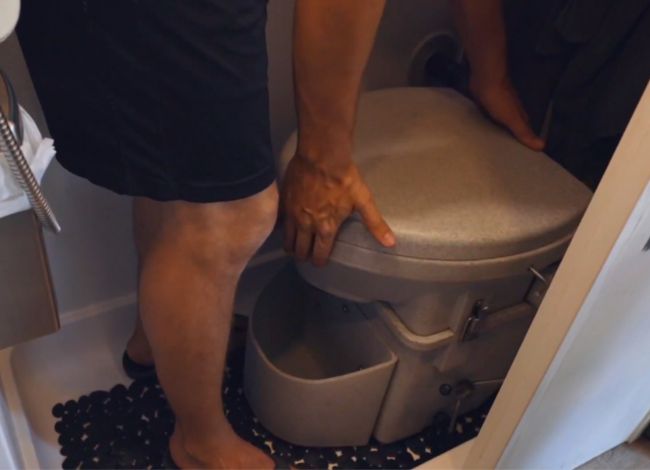
Cleaning a composting toilet involves more than just scrubbing the bowl. Here’s a simple step-by-step guide to keeping it fresh and hygienic:
Step 1: Clean the Exterior
Start by wiping down the outer surfaces, including:
- Toilet lid, seat, and tank
- Rim and base of the unit
Use a disinfectant that is compost-safe or a homemade mix of water and white vinegar. For fiberglass or smooth plastic finishes, a microfiber cloth will work best without scratching the surface.
Step 2: Clean the Bowl and Interior
Focus on removing any stains or skid marks inside the bowl:
- Use eco-safe products like Drano Max Gel or Lysol Green (only if confirmed compost-safe).
- Scrub with a toilet brush, rinse with clean water, and dry the area.

Here’s the improved, grammatically correct, user-friendly, and keyword-optimized version of your composting toilet cleaning guide:
Step 3: Clean the Inside of the Composting Toilet
To maintain a hygienic and odor-free composting toilet, start by cleaning the inside of the toilet bowl thoroughly. Use a toilet brush and apply a compost-safe cleaner inside the bowl. Rinse off any buildup or residue, then add a liquid cleaner that is safe for composting systems.
Maintaining the correct moisture level of the compost is crucial—too wet or too dry compost can disrupt the breakdown process. Ensure the compost material is neither overly clumpy nor excessively dry. For better results, you can layer coco coir or peat moss to absorb excess moisture and control odors.
Also, inspect the sewer line or liquid waste channel to ensure it is clear and functioning properly. The separation of solid and liquid waste is essential for the system’s efficiency. Maintaining this separation helps enhance the composting process and prevents unwanted odors. Establishing a routine cleaning schedule will keep the system in optimal condition.
Step 4: Rotate the Composting Drum
Once the internal cleaning and compost adjustments are complete, it’s time to rotate the composting drum. Most composting toilet manufacturers recommend doing this regularly to stimulate the composting bacteria and improve aeration. This step helps to mix fresh waste with older compost, promoting faster decomposition.
Ensure both chambers of the toilet system—the solid waste drum and the liquid container—are clean and functioning efficiently. Frequent rotation prevents odors and encourages even composting, making your system more efficient and environmentally friendly.
Step 5: Empty the Composting Chamber
When the composting chamber becomes full, it’s time to empty it. Wear gloves and carefully remove the finished compost from the bottom compartment using a small shovel and bucket. This compost is safe to use around non-edible plants and garden soil.
To begin:
- Open the upper section of the composting chamber.
- Follow the manufacturer’s instructions for removing and managing waste.
- Add carbon-based materials like sawdust, straw, or shredded paper to maintain moisture balance.
Don’t forget to check the liquid chamber regularly. This component is designed to evaporate excess liquid waste, but if it fills up, you’ll need to siphon it out. Add a small amount of vinegar or a spoonful of sugar daily to minimize odors in the liquid container. These natural solutions help neutralize smells without harming the composting process.
Step 6: Perform Final Maintenance
Finally, inspect all parts of the composting toilet system. Remove and replace any rubber seals or strips that are worn out to prevent unpleasant odors from seeping into the living space.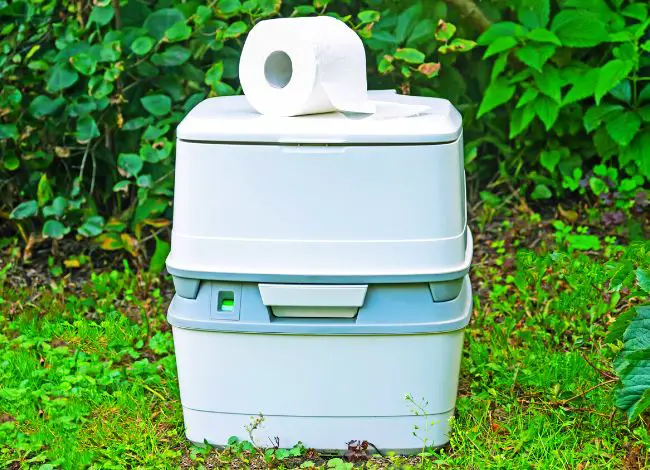
If your system has a ventilation fan, check the fan blades and mini mesh screens. Clean them regularly to ensure proper airflow. A 12-volt fan is typically used in RVs or off-grid settings—keeping it clean is essential for odor control. If the fan blades break or stop working, it can lead to a buildup of unpleasant smells.
Replace any outdated parts like the toilet bowl section if needed. Keeping every part of the system in good condition ensures longevity and efficiency.
Conclusion: Why Composting Toilets Are Worth It
Composting toilets are rapidly gaining popularity, especially in areas where water access is limited or septic systems are not practical. These eco-friendly systems reduce water usage, lower utility bills, and offer an effective waste management solution.
According to the Environmental Protection Agency (EPA), composting toilets are among the top-rated green alternatives for sustainable living. They require little to no water, minimal electricity, and are easy to install—especially self-contained models. However, they do demand regular maintenance and cleaning to function at their best.
Proper care, regular inspections of the ventilation system, and waste chamber management ensure your composting toilet stays odor-free, efficient, and environmentally friendly. Whether you’re off-grid, in an RV, or living sustainably, this system is a smart, responsible investment for the future.
We are really lucky to have a hard-working, multi-skilled plumber on our team. Collin D. Gallegos, a professional plumber who has worked with us since 2012, is an expert in vent, septic, and drainage systems. He is a Certified Master Plumber and has worked on various commercial plumbing projects. He usually helps our readers resolve plumbing and pipe-related issues with a proper DIY troubleshooting and repair guide.